Install Debian 11 Using the Graphical Expert Install - Page: 4
By: Edward Kimmel
Page Quick Links
The “Debian installer main menu” – Part 3
Overview
In this section of the Debian Installer main menu we will detect your computer’s Network Hardware, set up your Network Interface connection to use either a network DHCP server to obtain an IP address automatically or manually set up your IP address for the network. If your are planning to use a Static IP Address you should have the IP address, network gateway address and the name server IP address(es) ready. If you do not know any of these settings you need to find them out from your network administrator. After setting up the Network Interface you will then set up your computer’s Hostname and Domain Name. If your are not sure what to use for your Hostname and Domain Name, you should consult with your network administrator.
Detect Network Hardware
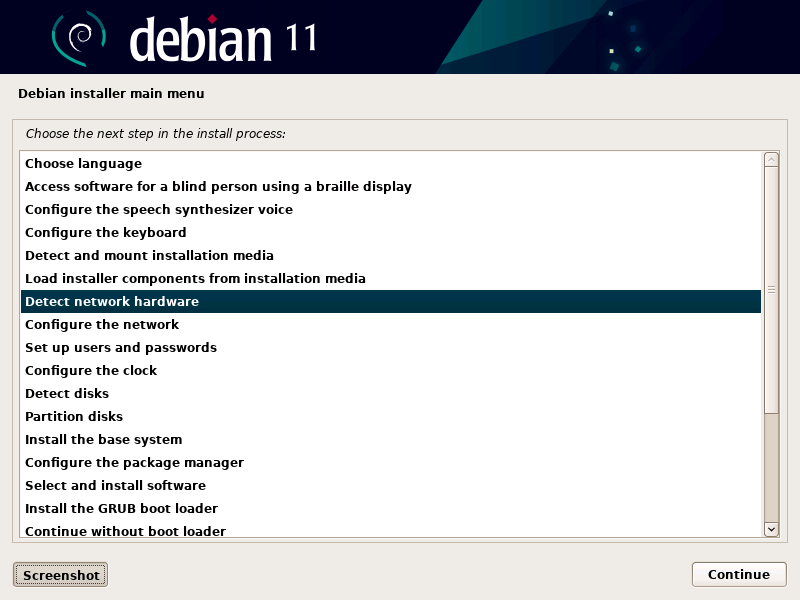
While at the Debian installer main menu, select Detect network hardware and click Continue.
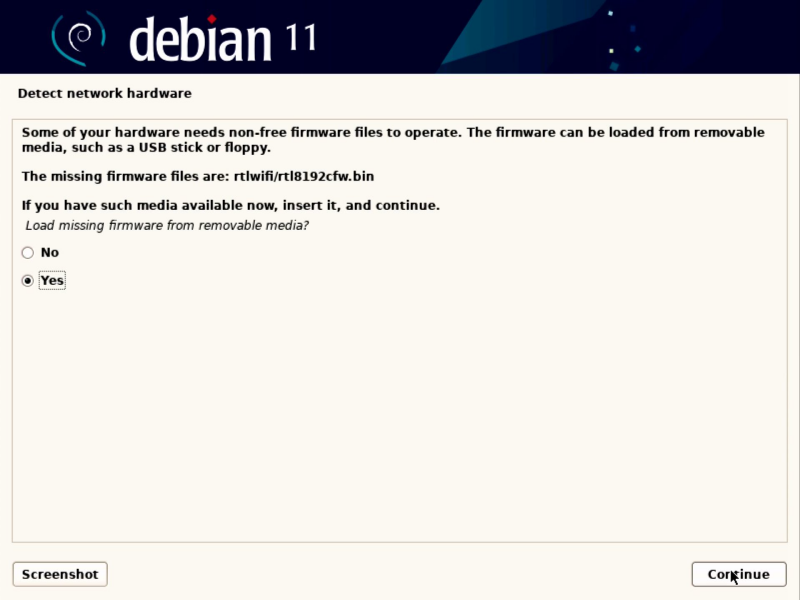
Load Missing Firmware From Removable Media
You may see a message to install non-free firmware files for your computer’s hardware that wasn’t found in the standard installation files. If you have the files available on removable media you should insert your media now and click Continue.
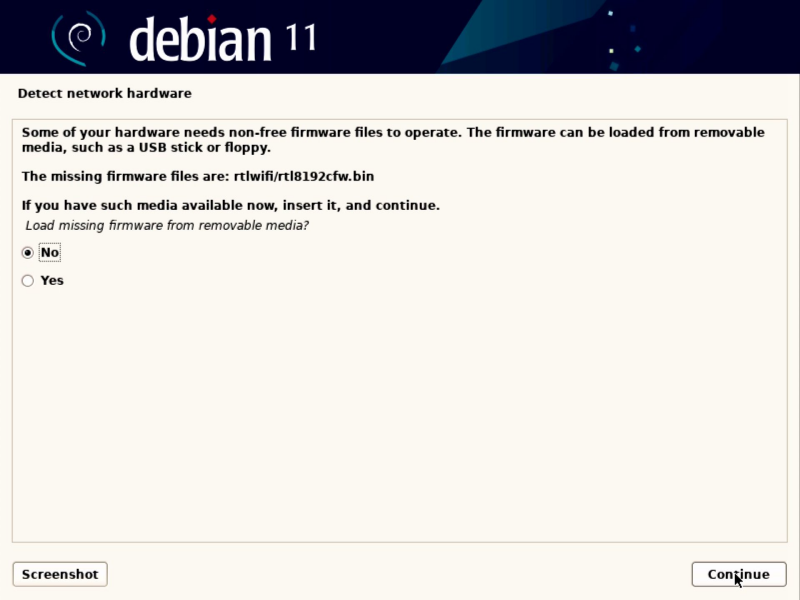
If you don’t have the files available you can install them after the Debian 11 OS is operational. You will need to select No and click Continue.
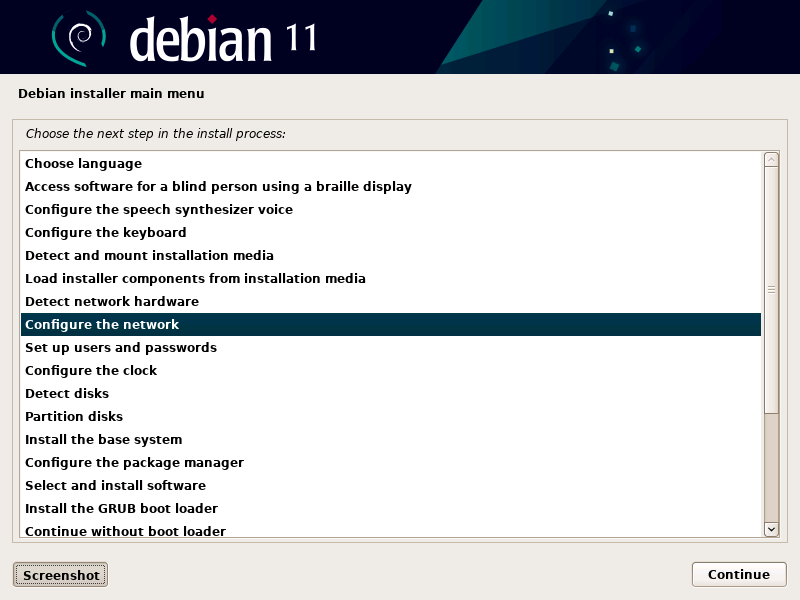
Configure The Network
After your network hardware is detected you will return to the Debian installer main menu, select Configure the network and click Continue.
Waiting Time For Link Detection
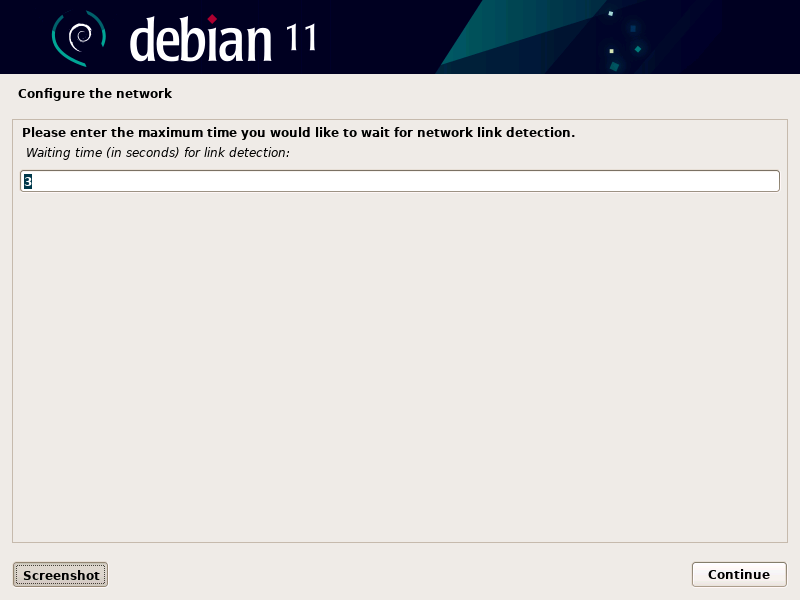
You may be ask to enter the maximum time you would like to wait for a network link detection. If this screen appears you can enter the maximum time you would like to wait for network link detection or keep the default 3 seconds, then click Continue.
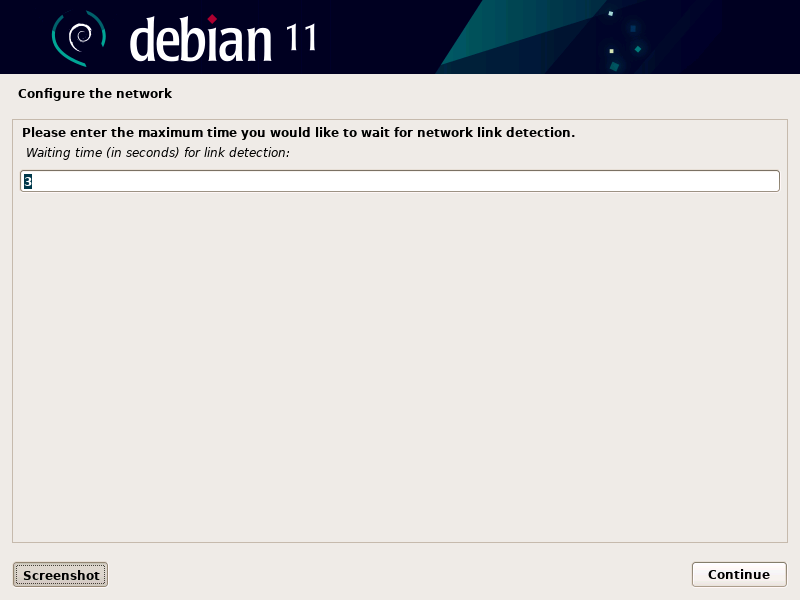
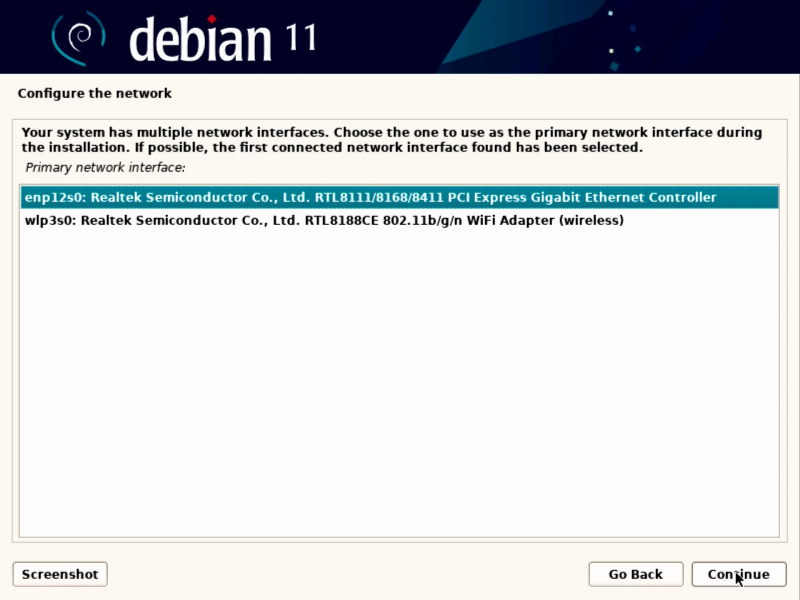
Primary Network Interface
If your computer has more than one network interface this screen will appear so you can choose which network interface will be used as primary. Select which network interface you would like to use as the Primary network interface, then click Continue.
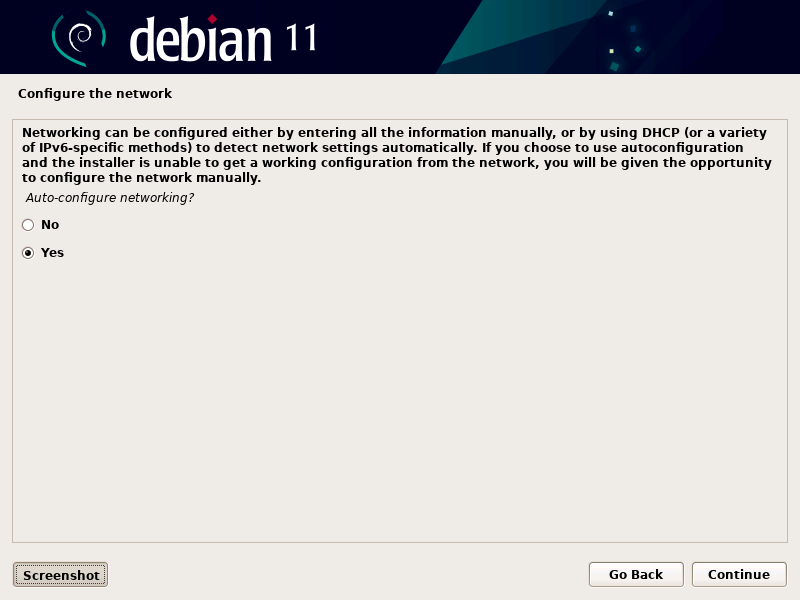
Auto-configure Networking
If you are installing your Debian 11 OS to be used as a Desktop computer you would most likely let the network DHCP server assign your computer a Dynamic IP Address. If you are building a Debian 11 server then you will want to assign your server a Static IP Address on your network. Auto-configure networking will setup your network interface to use your network DHCP server to assign a Dynamic IP Address to your computer. If you want to use your network DHCP server select Yes and then click Continue.
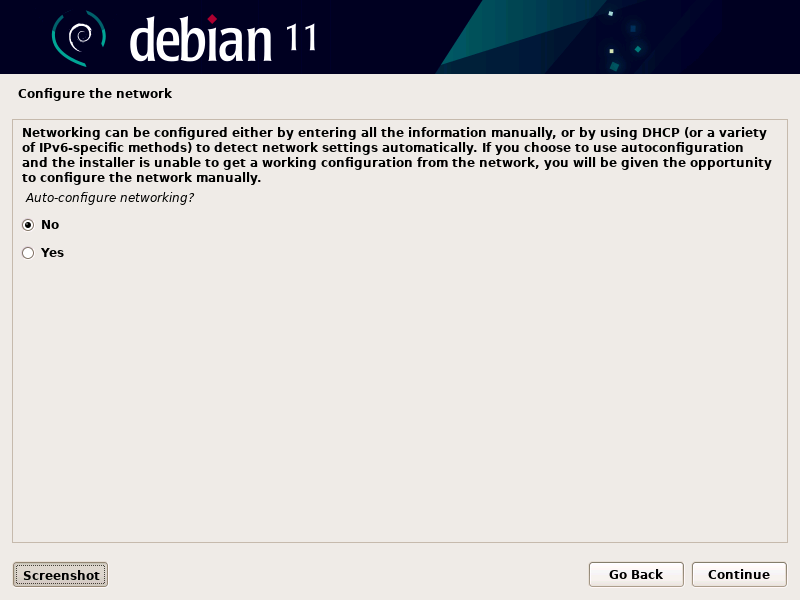
If you want to manually configure your network interface to use a Static IP Address, select No and click Continue.
Static IP Address
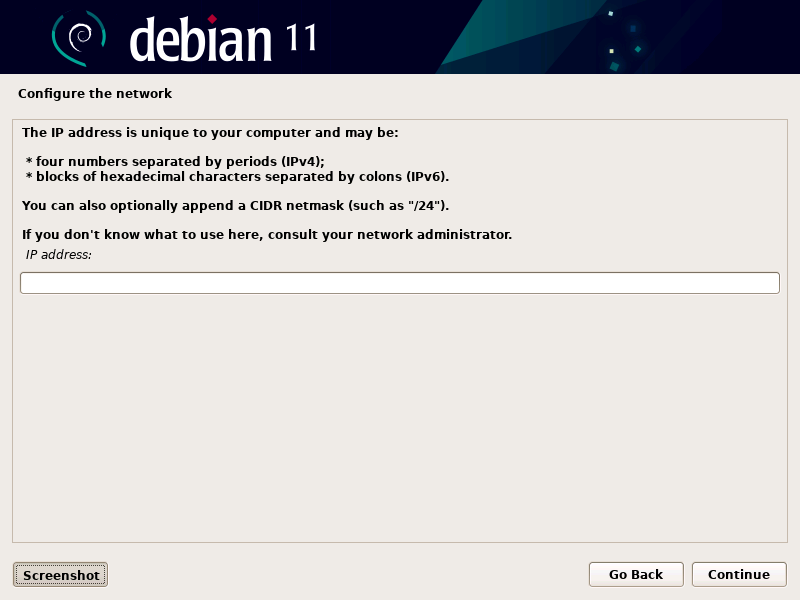
Enter the Static IPv4 or IPv6 IP address you want to assign to your server and then click Continue. If you are not sure what IP address to use, you will need to ask your network administrator.
Netmask
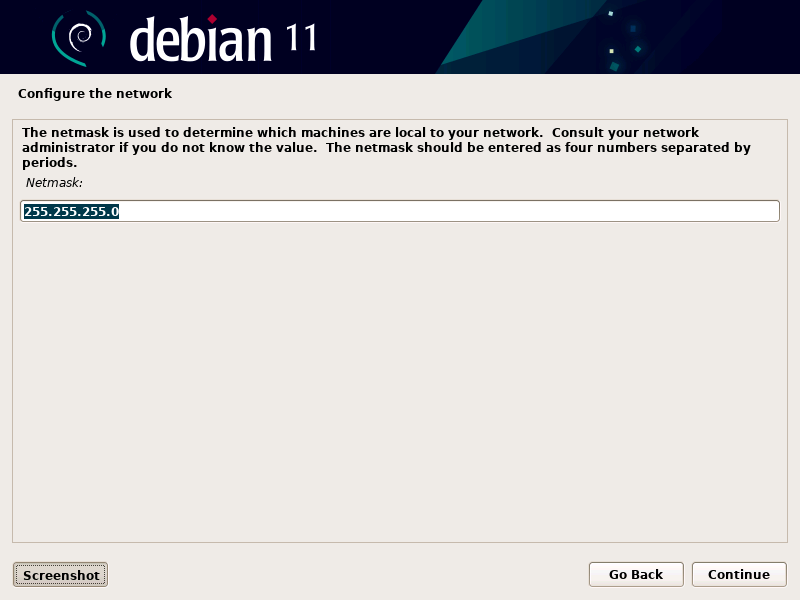
Now enter your Netmask setting for your static IP address and click Continue. If you are not sure what to enter, you will need to ask your network administrator.
Gateway IP Address
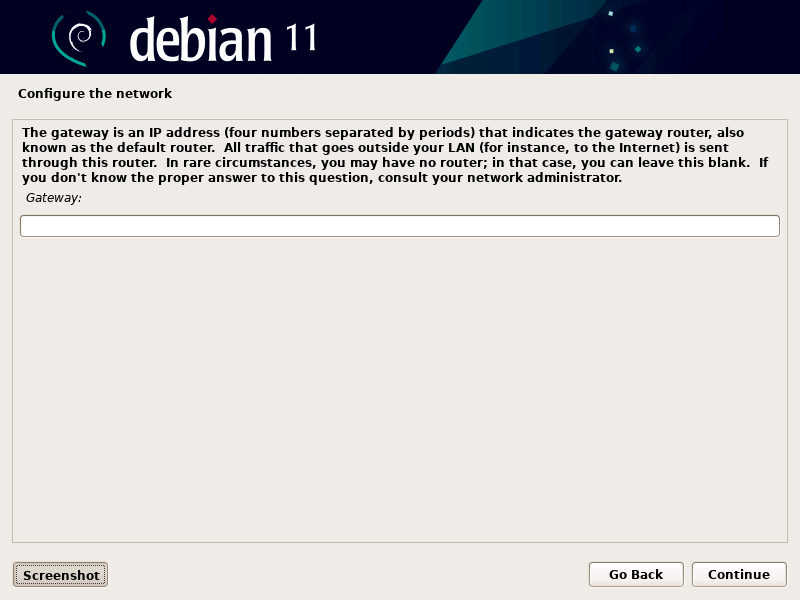
Now enter your network gateway IP address for your network router and click Continue. If you are not sure what your network gateway IP address would be, you will need to ask your network administrator.
Name Servers
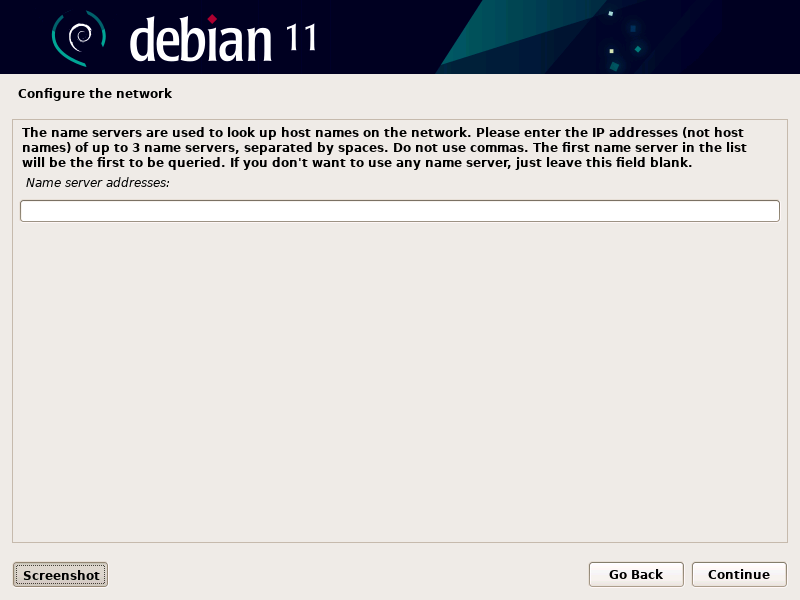
Enter your network name server(s) IP address(es), up to 3 can be added separated by a space, then click Continue. If you do not know your network name server(s) IP address(es) you will need to ask your network administrator.
Verify Network Parameters
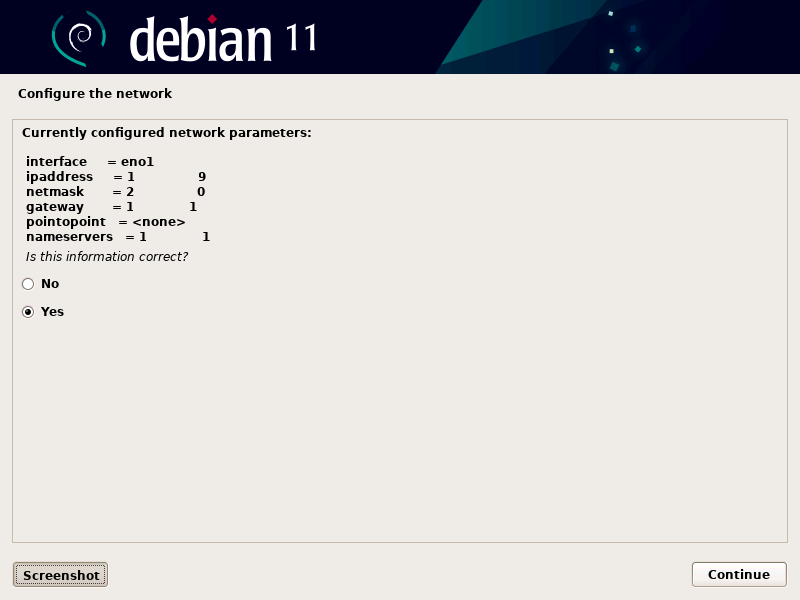
You will now be ask to verify the network settings you entered on the previous steps, if the information is correct select Yes and click Continue.
Waiting Time For Link Detection
You will be ask to enter the maximum time you would like to wait for network link detection, default is 3 seconds, then hit Continue.
Enter Hostname
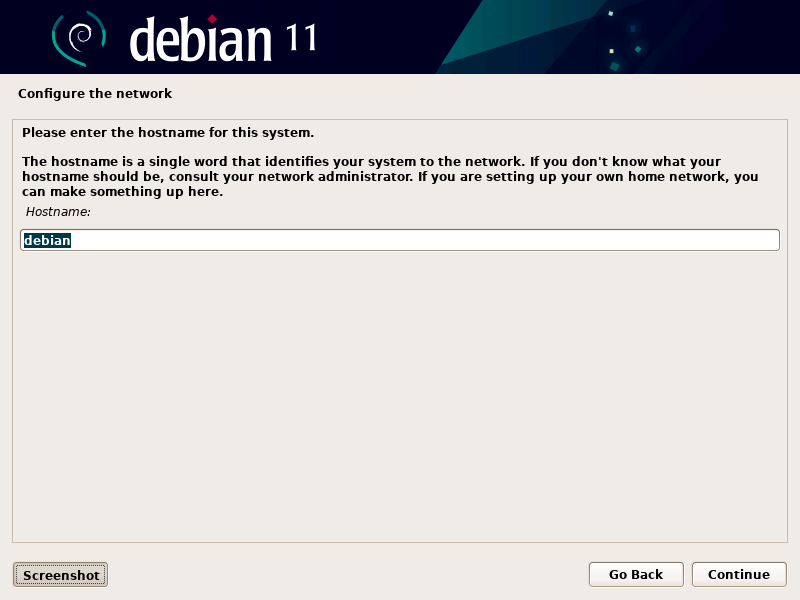
You will now be ask to enter the hostname for your computer, default is debian. If you don’t know what your hostname should be you will need to ask your network administrator.
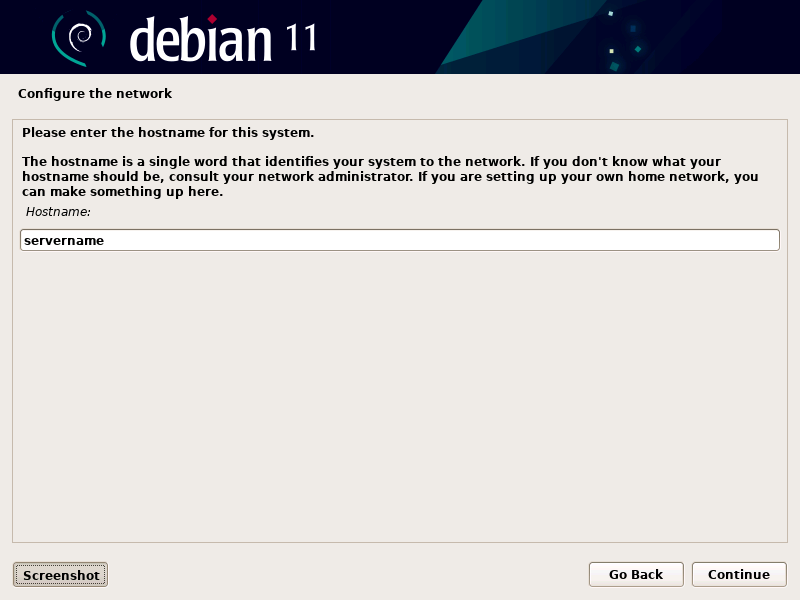
Change the default to the hostname you want to name your computer and then click Continue.
Enter Domain Name
Now you will be ask to enter your computer’s domain name, if you have a registered domain name enter it here or you can simply make something up if you don’t.
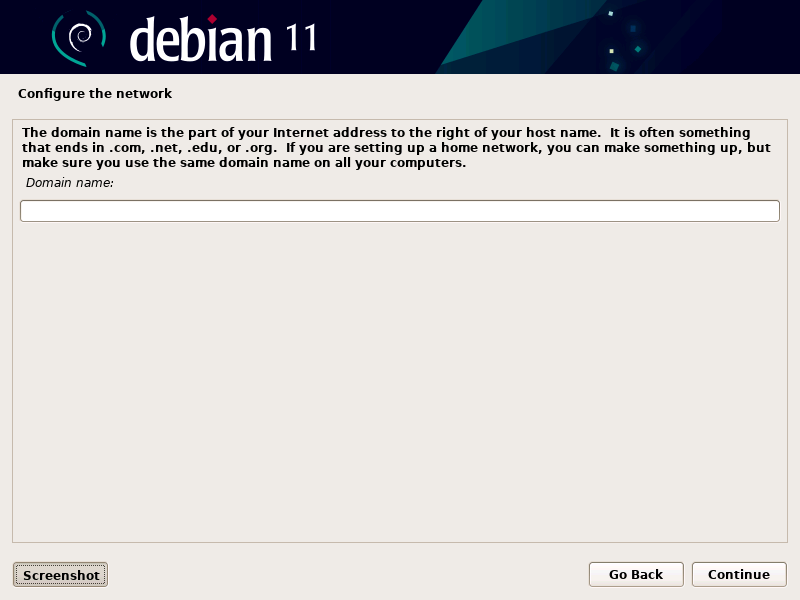
Once you entered your domain name click Continue.
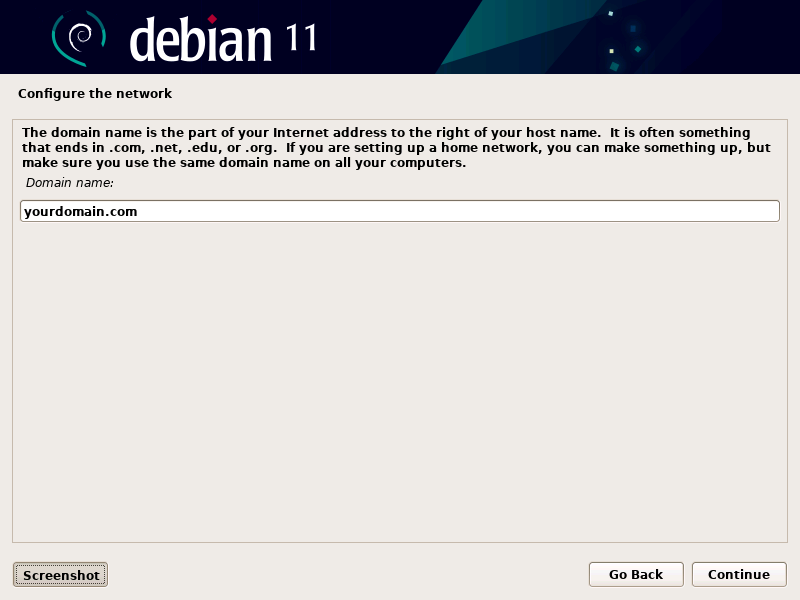
Now your computer has been set up to either use DHCP to obtain a Dynamic IP Address or a Static IP Address to communicate on your local network. You also gave your computer a unique hostname and assigned it to your domain.

Recent Comments
Categories
Archives