Install Debian 11 Using the Graphical Expert Install - Page: 3
By: Edward Kimmel
The “Debian installer main menu” – Part 2
Overview
In this section of the Debian installer main menu you will mount the Debian 11 installation media and load any additional components you may need to complete the system installation.
Detect And Mount Installation Media
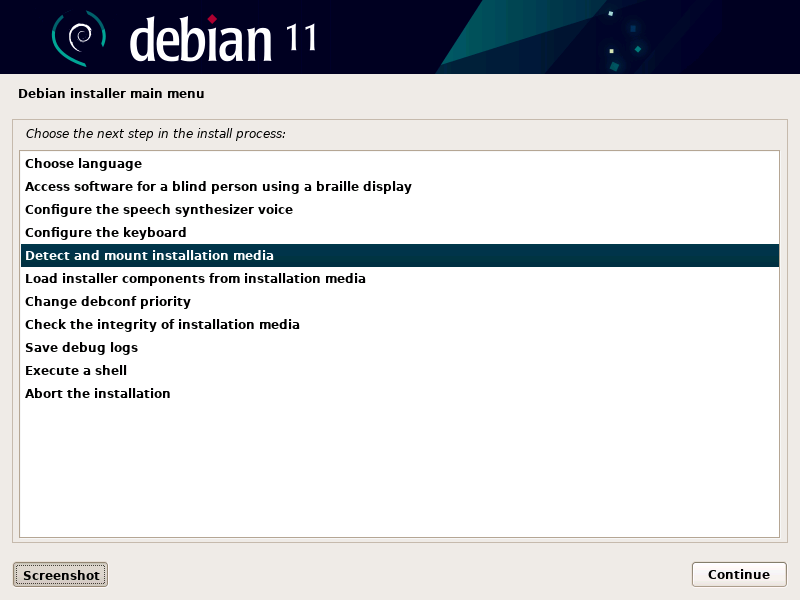
At the Debian installer main menu, select the Detect and mount installation media and click Continue.
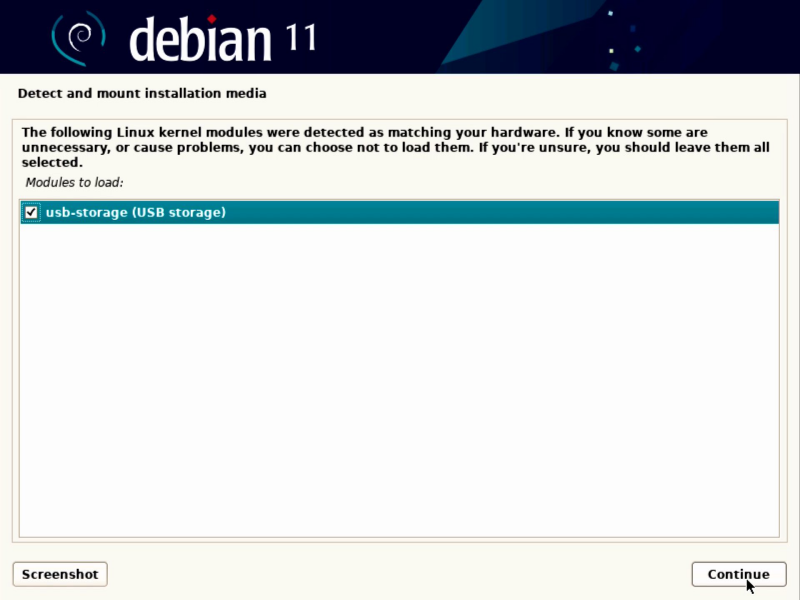
Modules To Load
If you see this screen and your not sure, you should leave this screen as it appears and click Continue.
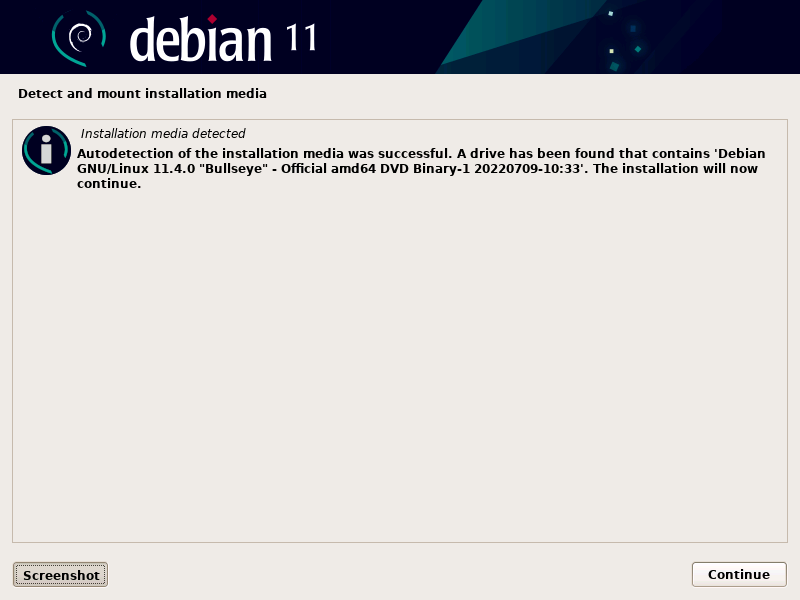
Installation Media Detected
A message will appear confirming installation media was detected, click Continue.
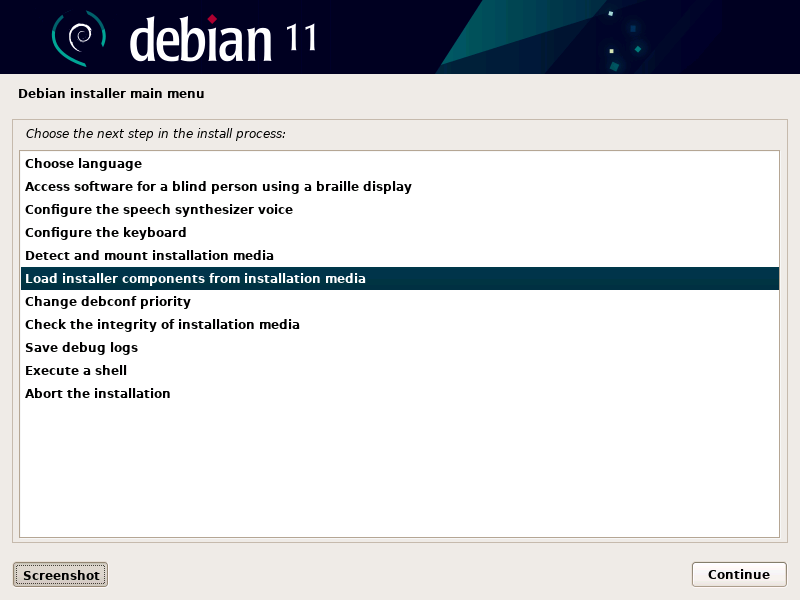
You will return to the Debian main installer menu. If there are any additional install components you may need to complete your system installation, this is where you will load them.
Load Installer Components From Installation Media
Select Load installer components from installation media by clicking Continue.
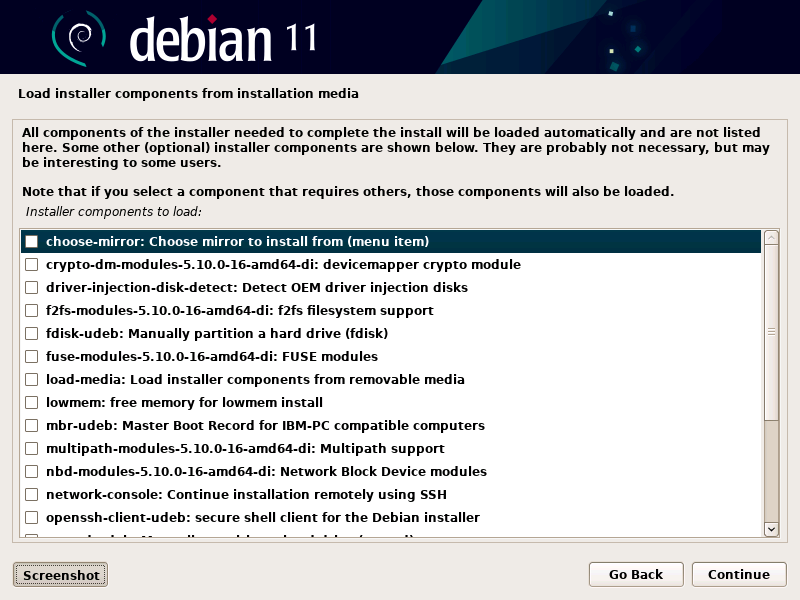
You will see a complete list of optional installer components on the next screen. You most likely will not need to select any of these but you may find some of them interesting or useful.
Installer Components To Load
Select any additional installer components you would like to load and/or click Continue.
Once installation components are loaded and the installation media has successfully been mounted, you can continue the Debian 11 system installation. You will return to the Debian installer main menu.

Recent Comments
Categories
Archives