Install Debian 11 Using the Graphical Expert Install - Page: 12
By: Edward Kimmel
The “Debian installer main menu” – Part 11
Overview
In this section of the Debian installer main menu you will finalize the Debian 11 OS installation, set the computer’s clock and then reboot your computer. Once the computer reboots you should remove the Debian 11 OS installation media.
Finish The Installation
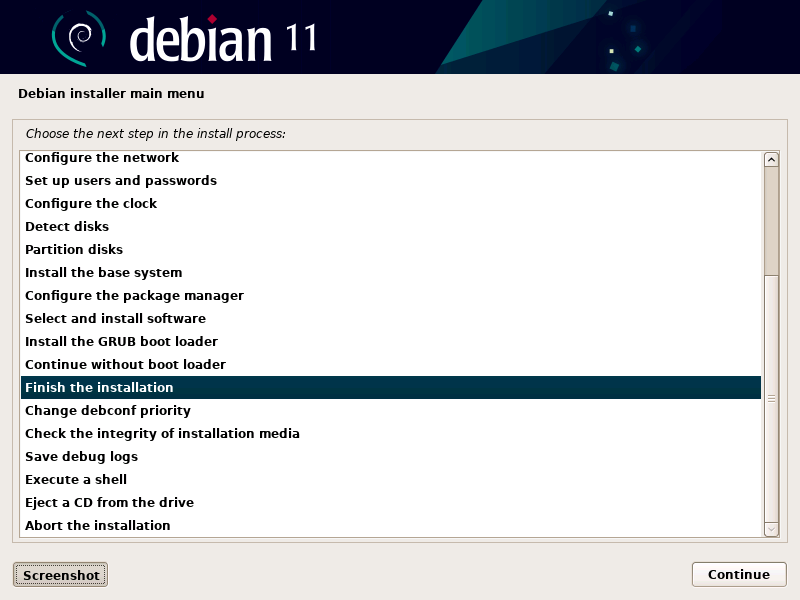
At the Debian installer main menu select ‘Finish the installation‘ and click Continue to finish the Debian 11 OS installation.

System Clock Using Coordinated Universal Time (UTC)
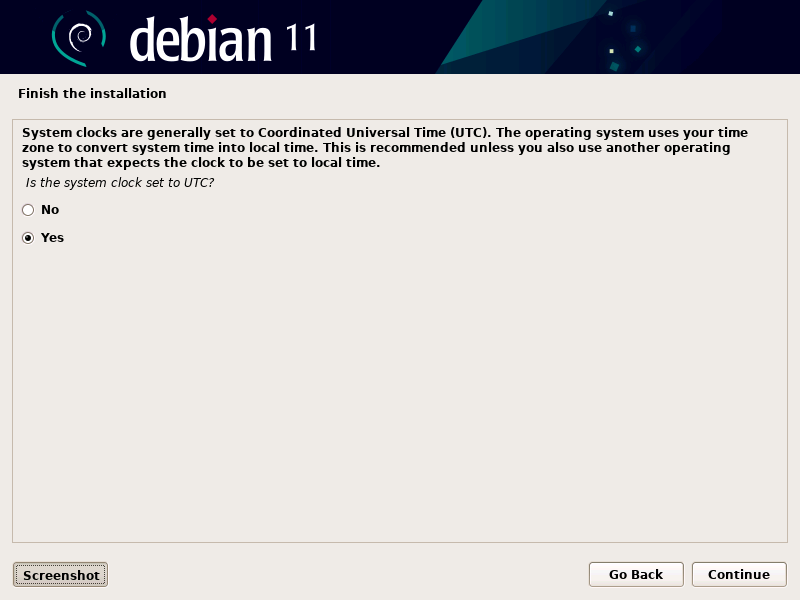
You will now be at the Finish the installation menu and ask ‘Is the system clock set to UTC‘ with default setting Yes. Keep the defaulted setting and click Continue.

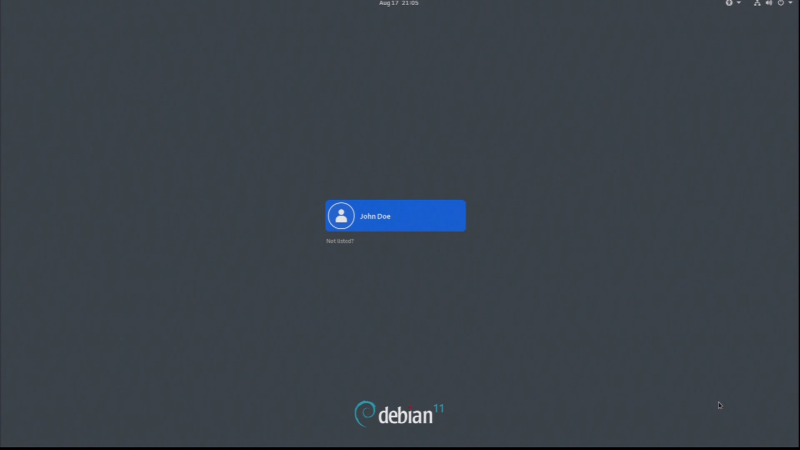
The Debian 11 OS files will be installed and when it’s all done you will see this message to remove the installation media and reboot your computer. Click Continue to reboot your computer. The Debian 11 server OS is now ready to be configured to serve what ever purpose you want it to be.


Recent Comments
Categories
Archives