A Tutorial To Build A Debian 11 Web Site Hosting Server Using Apache, BIND, Dovecot, MariaDb, PureFTPD and ISPConfig - Page: 2
By: Edward Kimmel
Install Cockpit Server Management Application
1.01 Overview
The Cockpit is a free and open-source server management application sponsored by Red Hat. It comes with a simple web-based admin interface to manage the server through the web browser instead of cli. It also provides information on CPU load, filesystem statistics, processes, and further information. It allows you to perform day-to-day system administrative tasks including, creating and managing users, troubleshoots network issues, upload and download files, and more.
We are going to install Cockpit now because I have discovered that during the installation process you will discover if any additional firmware drivers that may need to be installed. I try to have everything running properly before I build the commercial grade web hosting server.
1.02 Install Cockpit Server Management Software
Install Cockpit with this command:
apt-get install cockpit -y1.03 Install Podman Module
Podman is a container engine that allows you to create, run and manage Open Container Initiative (OCI) compatible containers on an Oracle Linux system.
Run the following command to install the Podman module:
apt-get install cockpit-podman -y1.04 Start Up And Enable Cockpit
After the successful installation, start the Cockpit service and enable it to start at system reboot:
systemctl start cockpit

systemctl enable cockpit
Your output should look like this:
root@server:~# systemctl start cockpit
root@server:~# systemctl enable cockpit
The unit files have no installation config (WantedBy=, RequiredBy=, Also=,
Alias= settings in the [Install] section, and DefaultInstance= for template
units). This means they are not meant to be enabled using systemctl.

Possible reasons for having this kind of units are:
• A unit may be statically enabled by being symlinked from another unit’s
.wants/ or .requires/ directory.
• A unit’s purpose may be to act as a helper for some other unit which has
a requirement dependency on it.
• A unit may be started when needed via activation (socket, path, timer,
D-Bus, udev, scripted systemctl call, …).
• In case of template units, the unit is meant to be enabled with some
instance name specified.
root@server:~#
1.05 Check Cockpit Status
To check the status of the Cockpit, run the following command:
systemctl status cockpitYou should see the following output:
root@server:~# systemctl status cockpit
? cockpit.service – Cockpit Web Service
Loaded: loaded (/lib/systemd/system/cockpit.service; static)
Active: active (running) since Sat 2022-03-12 20:17:30 EST; 1min 12s ago
TriggeredBy: ? cockpit.socket
Docs: man:cockpit-ws(8)
Main PID: 2487 (cockpit-tls)
Tasks: 1 (limit: 18936)
Memory: 1.0M
CPU: 311ms
CGroup: /system.slice/cockpit.service
+-2487 /usr/lib/cockpit/cockpit-tls

Mar 12 20:17:30 server systemd[1]: Starting Cockpit Web Service…
Mar 12 20:17:30 server systemd[1]: Started Cockpit Web Service.
root@server:~#
1.06 Confirm Cockpit Access Port Accessible
By default, Cockpit listens on port 9090. You can check it with the following command:
ss -antpl | grep 9090You should see the following output:
LISTEN 0 4096 *:9090 *:* users:(("systemd",pid=1,fd=84))1.07 Confirm Cockpit Web Access Functional
From another device on the same network, try to log into Cockpit using this URL:
https://192.168.0.150:9090
or using a browser from your computer’s desktop GUI use this URL:
https://localhost:9090
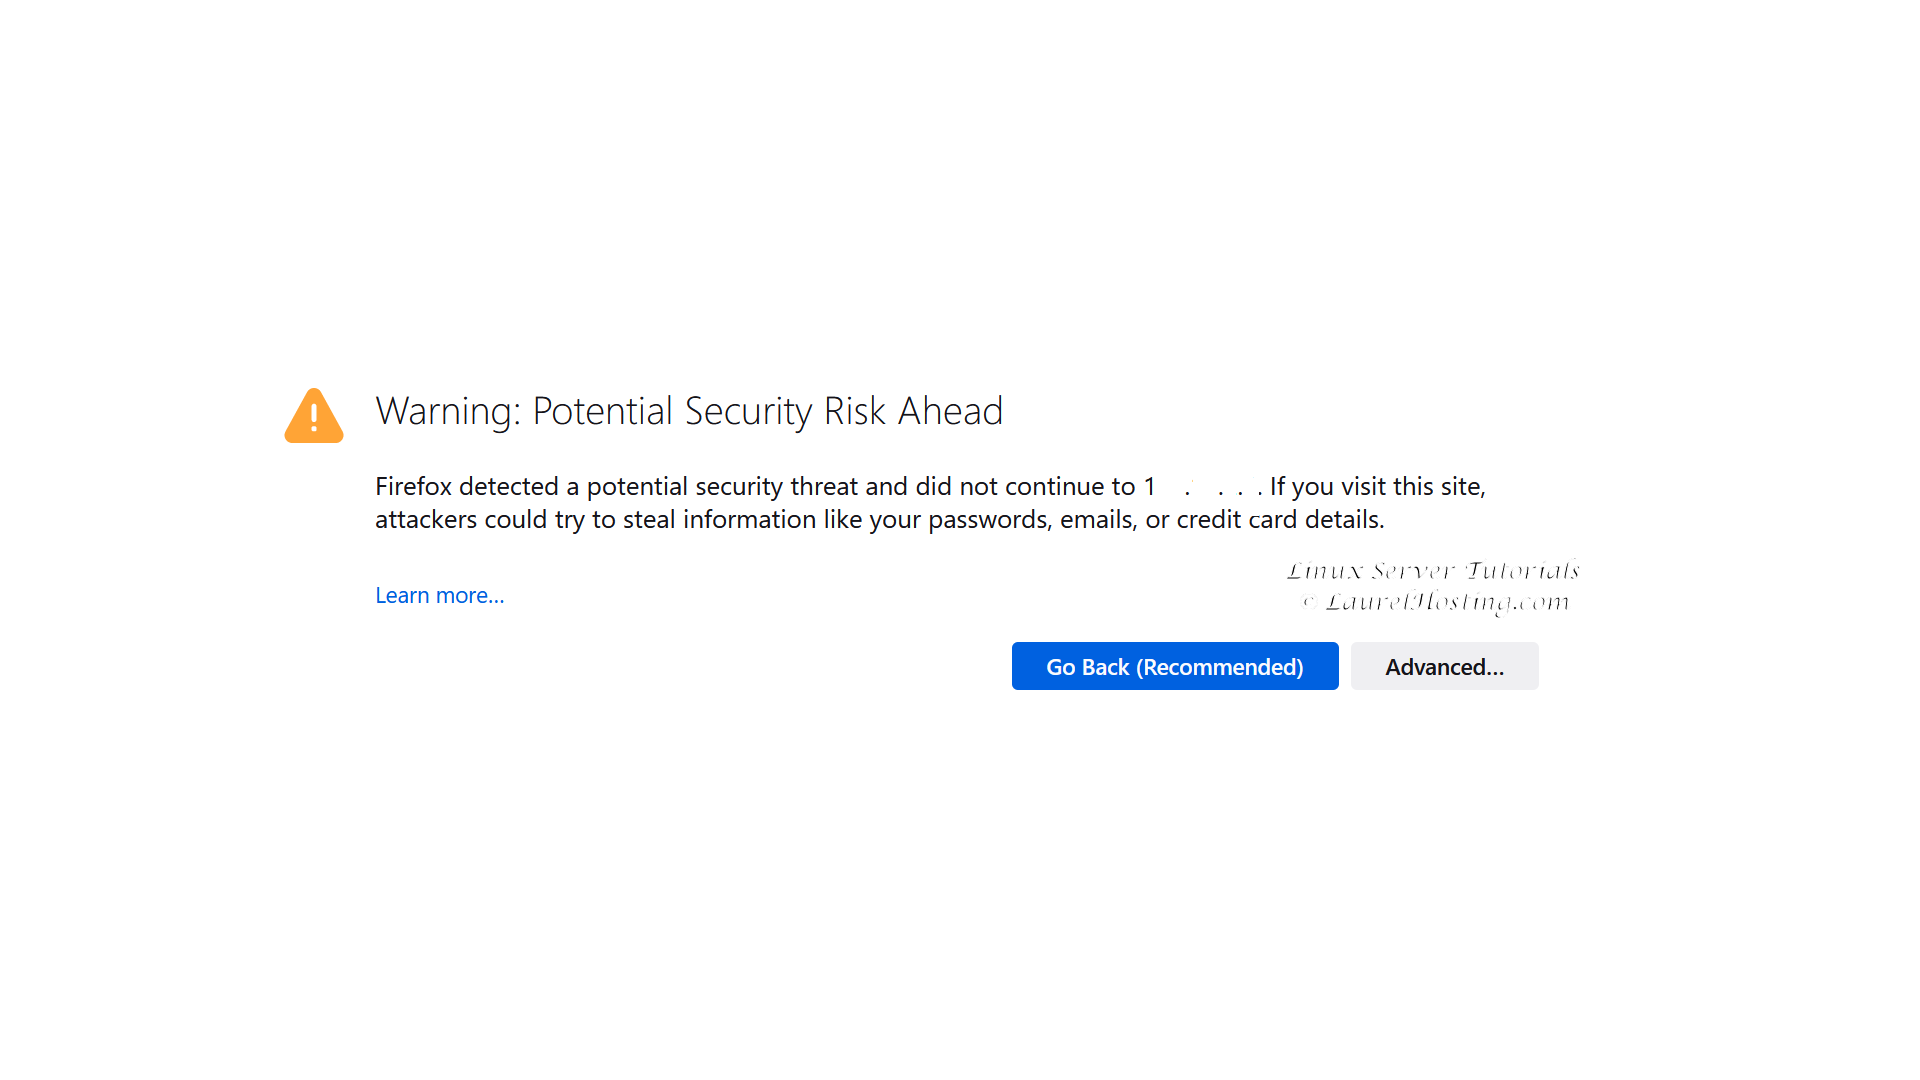
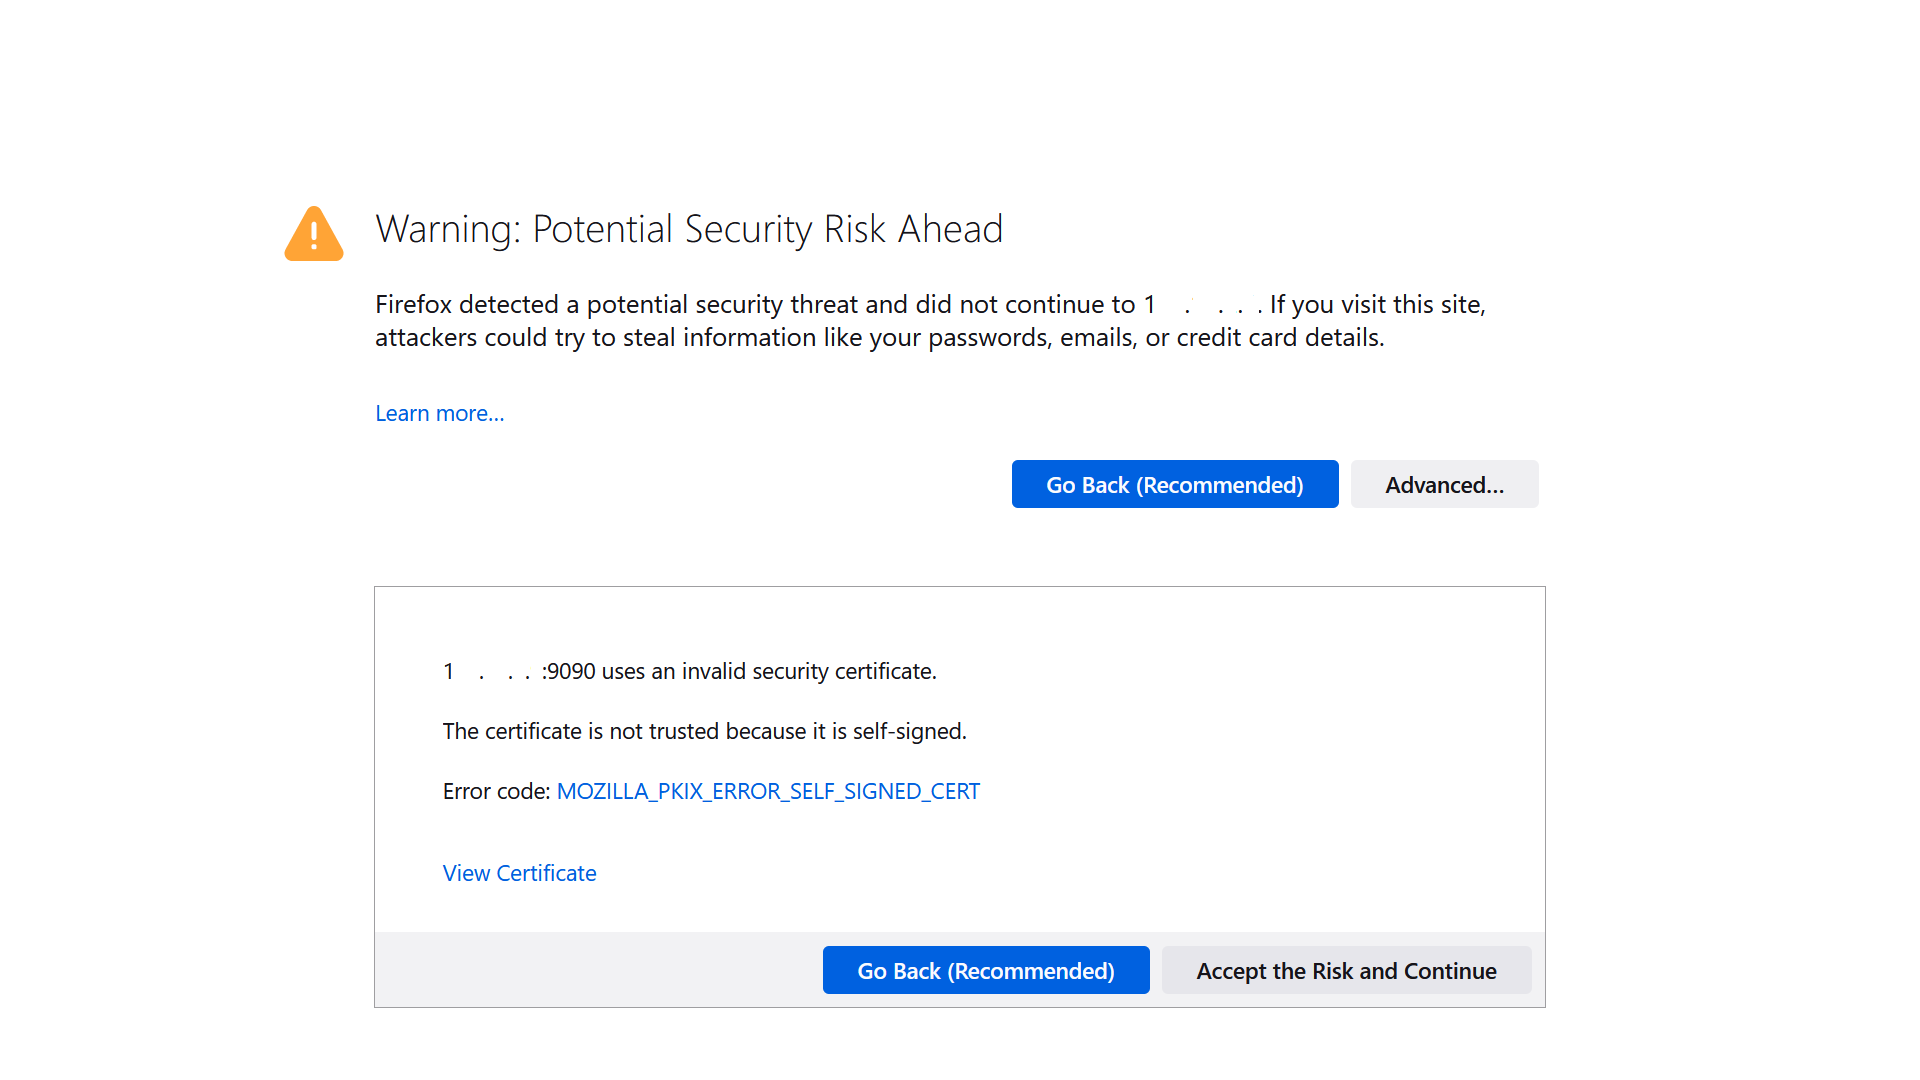
You should see a security warning because Cockpit secures it’s connection to your browser with a ‘self signed security certificate’, not an actual security certificate that you paid for to make it legitimately secure and trust worthy.

Click on Advanced… to display more options:

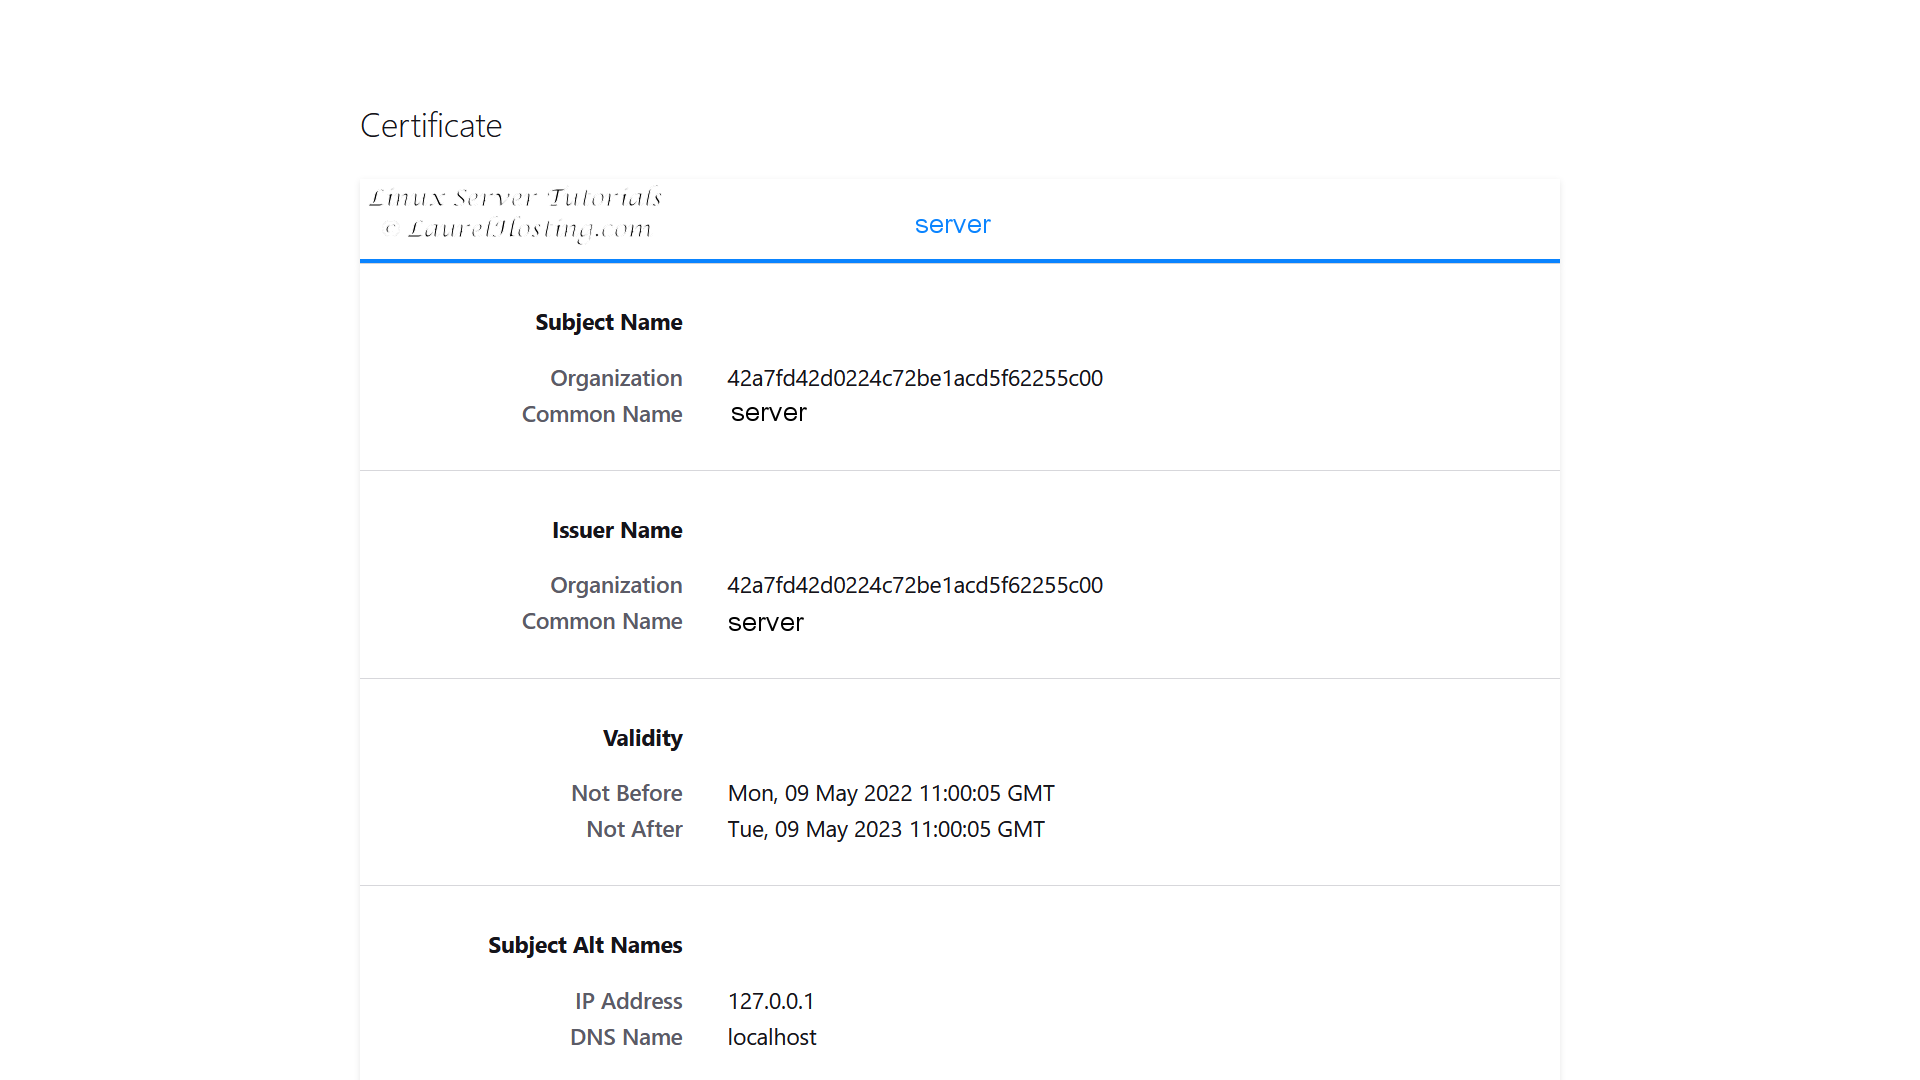
Click View Certificate to see your computer’s Cockpit self signed certificate.

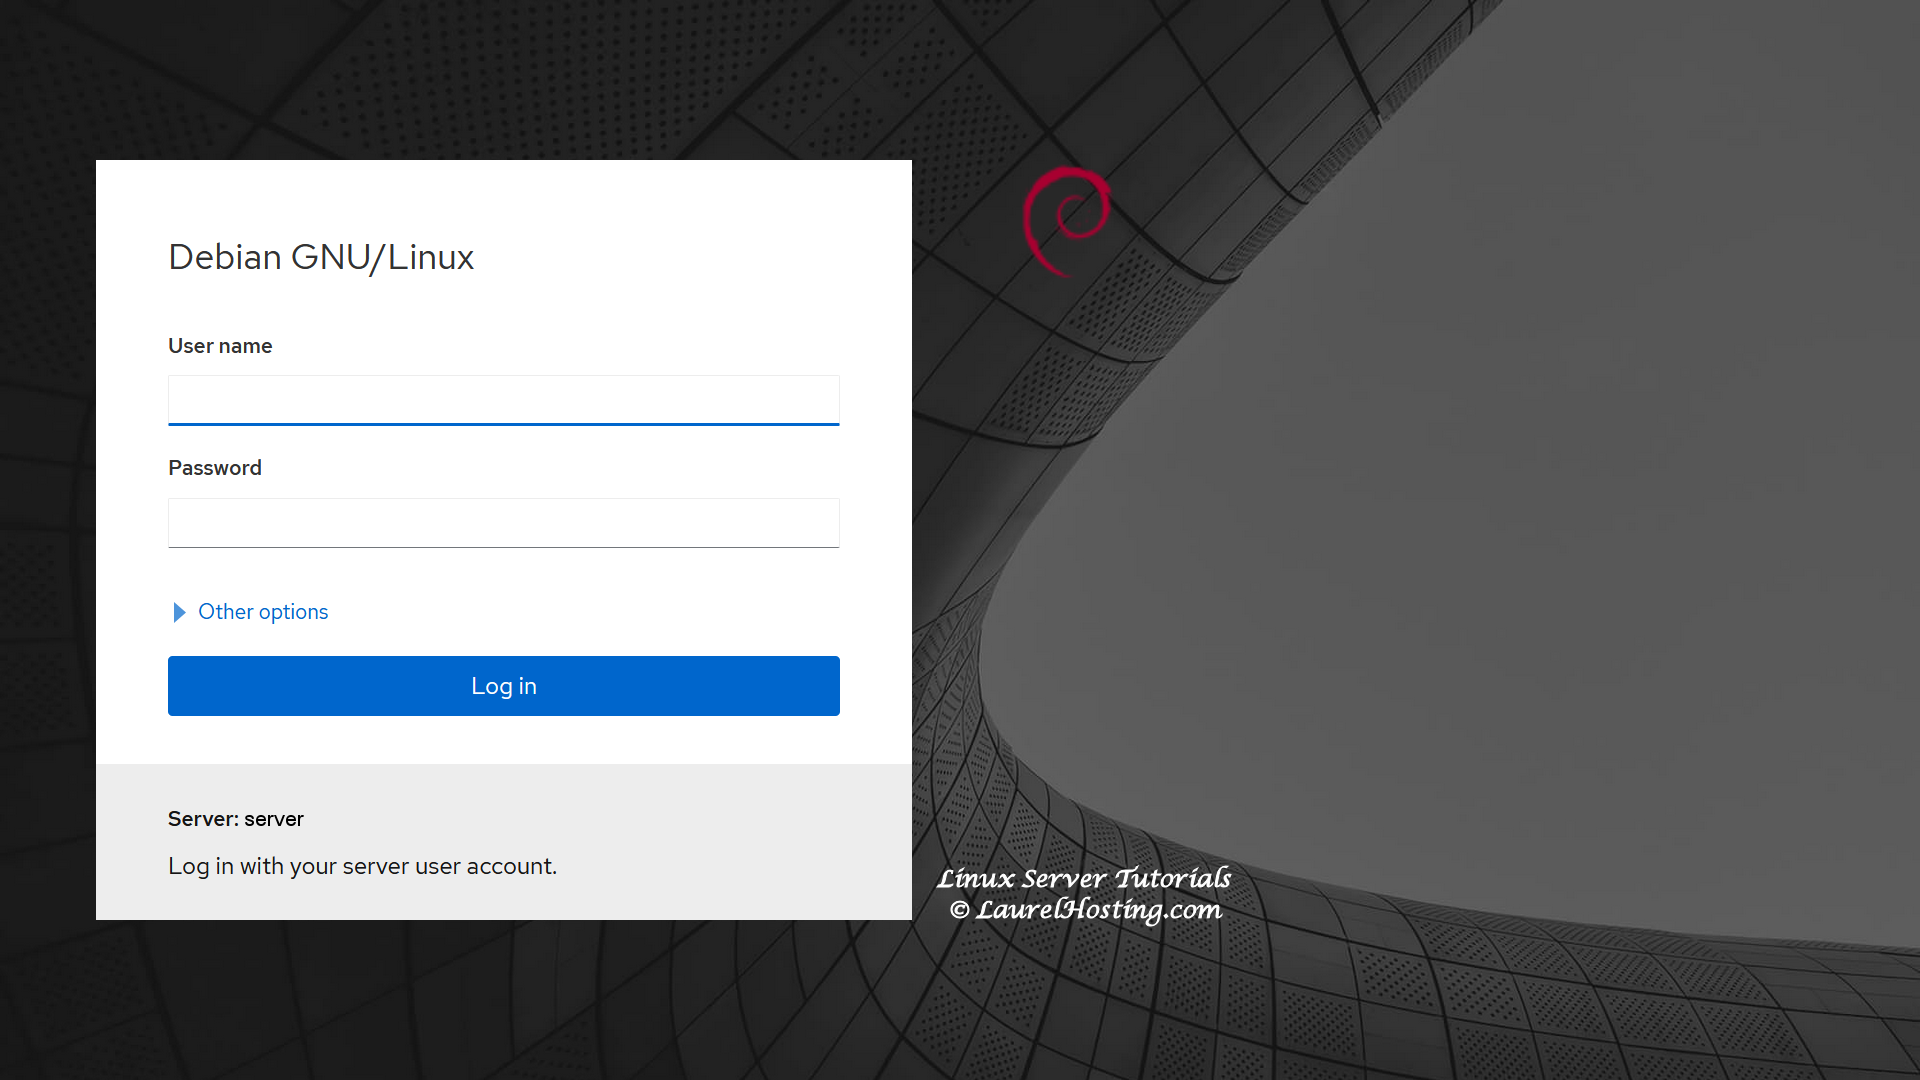
Then click on Accept the Risk and Continue to tell your browser it’s OK to secure the connection with your web hosting server using a self signed certificate that you trust. From this time forward you will always have a secured connection when you use Cockpit to access the server.

Cockpit is a very powerful web based administration tool. Log in using either superuser ‘root’ or the administrator account to easily maintain your personal Debian 11 server.
1.08 Reboot Computer
I would reboot your computer since this was a major software installation.
rebootOnce your computer reboots, log back in using the superuser ‘root’.

Recent Comments
Categories
Archives